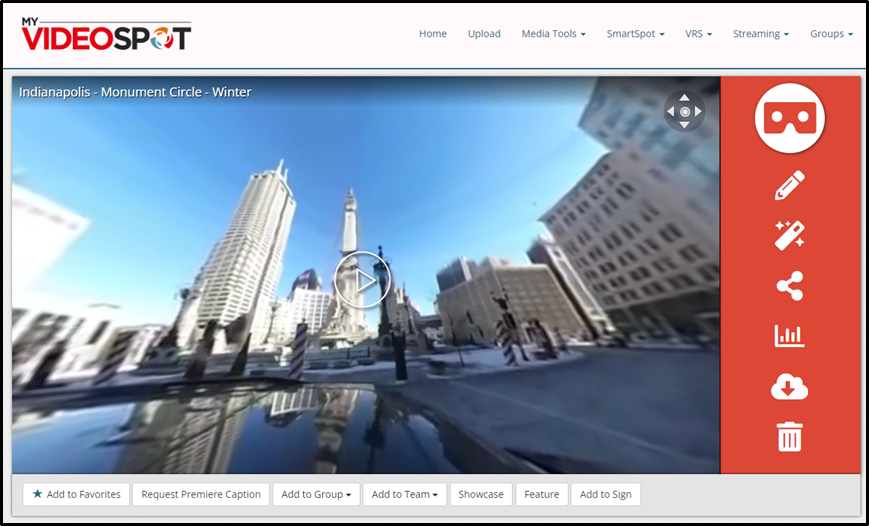
Any user can preview content from their own media gallery or from returned search results. Below are descriptions of the media player page and what each icon can do. To access the player page, click on the media item from your gallery or from a returned search result.
View, Listen, or Download
If a user clicks the play button, they can watch a video or listen to an audio file within the player. If it is an image, MediaSpot project, or pdf, they’ll be able to see a visual of it. If it is another sort of file type, clicking on the thumbnail will download the file to their computer.
Media Icons
If the media is from your own gallery, you will find several icons down the right side of the media item, including the items described below.
Edit Attributes Icon: This link allows editing many fields associated with a media item. This includes changing the name or description, changing the thumbnail, adding closed captioning, adding or remove tags, changing the permission settings, etc.
Embed Icon: Clicking this link gives two options for sharing of an item. The first option provides unique URL links to the media item for internal or external sharing. Click the clipboard icon to the right of the URL link and then share the link via email, website post, or through social media. Make sure your permissions level is set appropriately for who you want to share your media item with.
The second option is the embed code to allow you to place your media item directly into a website. If the media is a video, it will show an additional option to resize the video player size.
Tracking Icon: Click the tracking icon to see a detailed report of the viewing activity of your media item. The report will default to display the activity over the past 14 days, but you can click on the calendar to adjust the date range. You will see the total number of views during the date range, the average time that people were viewing your media file, a daily graph of the views, and a detailed list of each view, including the date, time, amount of time on page, person who viewed the media, and IP address.
Download Icon: Clicking this icon will download the media item to your local computer drive.
Delete Icon: This will allow you to delete your media item. Once you delete a file, it will be permanently deleted after thirty (30) days. If you need to retrieve a deleted file, click on the Deleted Items button on the top row of your media gallery. A list of your deleted files from the past thirty days will be displayed. Click on the restore icon to the far right of your file to restore the file to your account.
Below Media Preview
Add to Favorites: Clicking this button will add the media item to your favorites page.
Request Caption: If your district subscribes to either the speech-to-text or human captioning solution, click this button to request the caption.
Add to Group: Clicking this button will display a dropdown of the groups you are a member of that you have permission to add media to.
Add to Showcase: Clicking this button will display a dropdown of the showcases you have permission to add media to.
The Share Bar
If you have permission to share the media item outside of your district, the Share Bar will appear underneath the media player or preview. Visit this article for more information.

Other Media Preview Items
Other items you will find under the media preview include the description, tags, and standards. Additionally, there are the bookmarks and discussion sections.
Description: Displays the title of the item, the name of the uploader, and the avatar of the uploader. If the user added an optional description, that will be displayed as well.
Bookmarks: This bookmark feature allows you to create various starting points throughout your video.
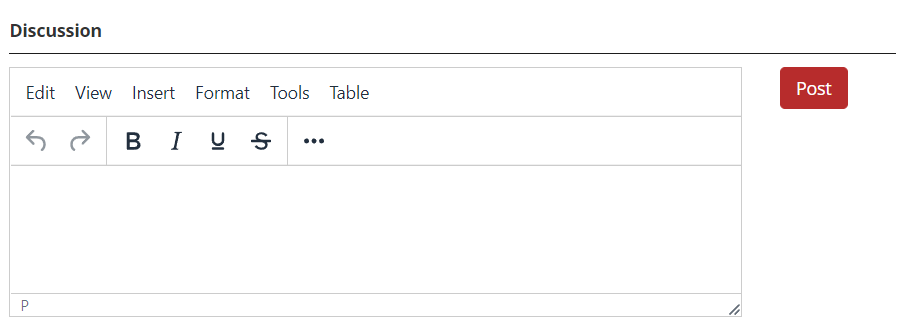
Discussion: In the discussion field, students can post a comment about their uploaded media item for their teacher to see. All student comments can only be viewed and responded to by user classes teachers and above. Other students will not be able to see the correspondence between the uploader and their teacher.


