MyVideoSpot’s SmartSign digital sign solution runs off of our custom Chrome extension. To setup the Chrome extension, follow these steps or watch the video below.
- Make sure you have the latest version of the MyVRSpot Digital Sign extension for Chrome. If you need to download it, click here.
- After it’s installed, make sure ‘Allow Access to File URLs’ is turned on within the ‘Manage Extension’ settings for the extension.
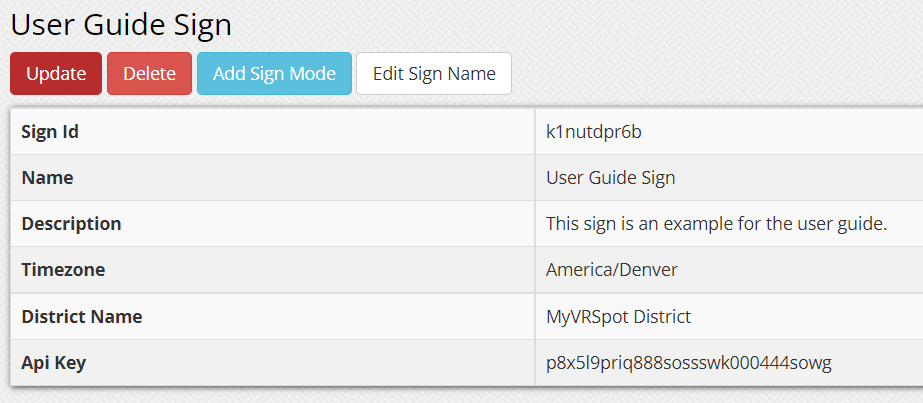
- Navigate to your SmartSign within MyVideoSpot. To do so, click on the Admin dropdown and select Manage Signs. Click on the name of your sign to open up its settings.
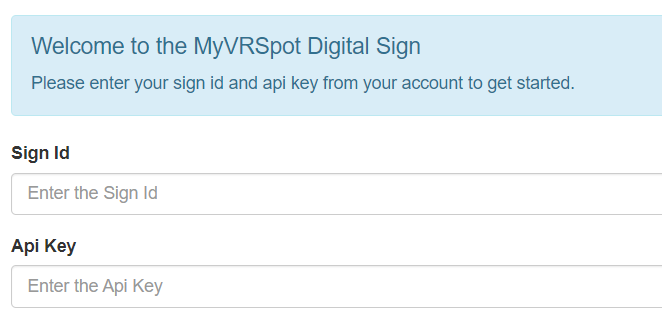
- Click on the MyVRSpot Digital Sign extension icon in the upper right of your Chrome window. Click on Sign Settings. This will open in a new tab.
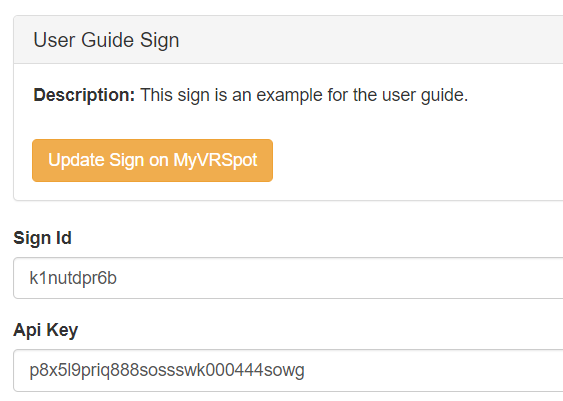
- Go back to your SmartSign options tab that you were just on. Copy the Sign ID and API Key and paste it into extension tab’s settings page. Take note that you have the options to change the sign update frequency, mute media, and display media captions.
- Click on Save Sign Settings. It should now populate your sign’s title and description at the top of the options.
- You’re all set! You can now preview or start the sign from this page and you can just start the sign by clicking on the extension icon and clicking Start Sign.


