Enable the Maestra Web Captioner
To enable the Web Captioner, first, click the Streaming dropdown from the top menu and select My Streaming Channels. Next, click the Edit icon (pencil) to the far right of the channel you want to use the Web Captioner with. In the channel editor, scroll down to the Captioning section. Under this section, toggle the Web Captioner on to Enable Web Captioner. Make sure you click Update at the bottom of the page to save.
Connecting Webhooks to Streaming Channel
Now you will need to add the Web Captioner Web Hook to the Web Captioner site. Follow the instructions below to do so.
- After you click Update from the previous steps, your channel information page will load. Copy the Web Captioner Web Hook URL.
- Navigate to the Web Captioner site here, click on the Settings icon to the right of the ‘Start Captioning’ button in the bottom right corner of the page, and select Settings from the pop-up menu.
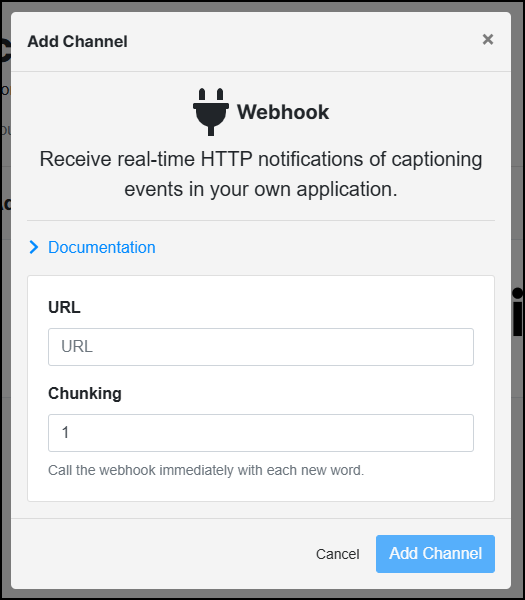
- Click Channels on the left menu of the settings and select Webhook under the Add a Channel Section.
- Paste in the URL that you copied in step 1 and click the Add Channel button.
- Close out of the settings.
- Click the Start Captioning button at the bottom of the Web Captioner page and make sure you allow the application permission to access your microphone.
Show or Hide Closed Captions
If you’ve followed the previous steps, you’ll see the option to hide or show closed captions.
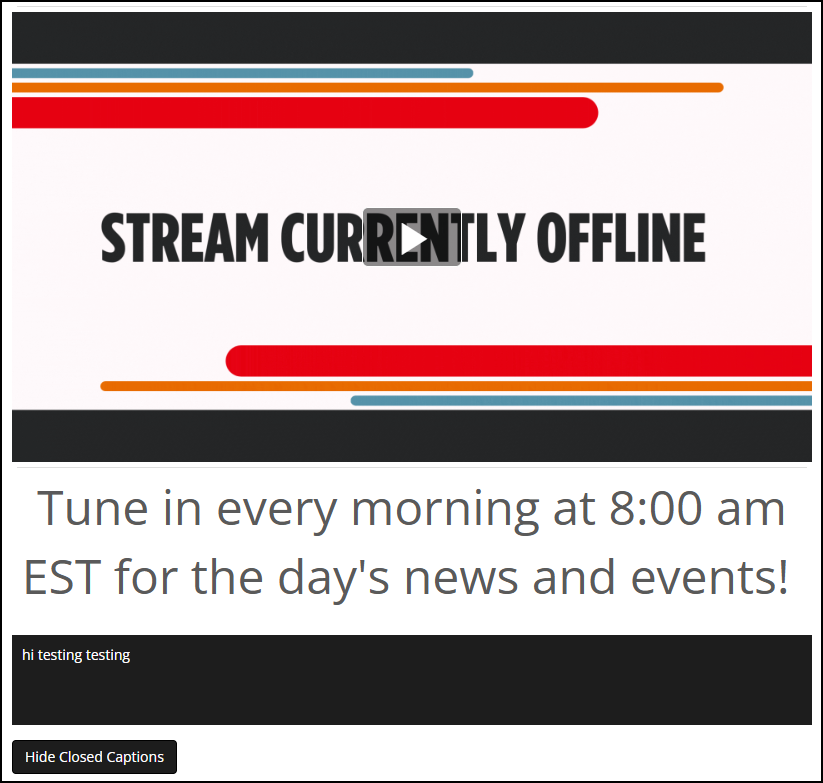
- Go to your streaming player page (your streaming URL) and the Show Closed Captions button will now appear under the stream. You can click the button to show or hide the closed captions box.
- Test it out yourself! Start talking once you have clicked the Start Captioning button in Web Captioner and Show Closed Captions on your streaming player page. If you are displaying the closed captioning box, it will show the words that you are saying in Web Captioner on the streaming player page.


